
How to Identify and Replace Damaged Ethernet Cables
How to Identify and Replace Damaged Ethernet Cables
Ethernet cables are essential for connecting devices to a network, ensuring a stable and reliable internet connection. However, like any other physical component, they can suffer from wear and tear over time. A damaged Ethernet cable can result in slower internet speeds, frequent disconnections, and even complete network failure.
Identifying and replacing a faulty Ethernet cable is crucial for maintaining a smooth and uninterrupted internet experience.
In this guide, we will discuss the signs of a damaged Ethernet cable, how to test it, what causes the damage, how to choose the right replacement, and the steps to properly replace it.
Signs of a Damaged Ethernet Cable

A faulty Ethernet cable can cause various connectivity problems. Recognizing these signs early can help you diagnose and fix the issue before it significantly impacts your network performance.
1. Slow Internet Speeds
One of the first indicators of a damaged Ethernet cable is a noticeable drop in internet speed. A faulty cable can lead to data transmission issues, causing lags in browsing, buffering in streaming services, and delays in online gaming.
If your internet speed is significantly slower than your subscribed plan, testing the cable should be one of the first troubleshooting steps.
2. Frequent Disconnections
A damaged Ethernet cable can lead to intermittent connectivity, where the connection frequently drops and reconnects. This can be highly frustrating, especially when working remotely, attending virtual meetings, or gaming online.
If your connection constantly disconnects and reconnects without any apparent reason, the cable might be faulty.
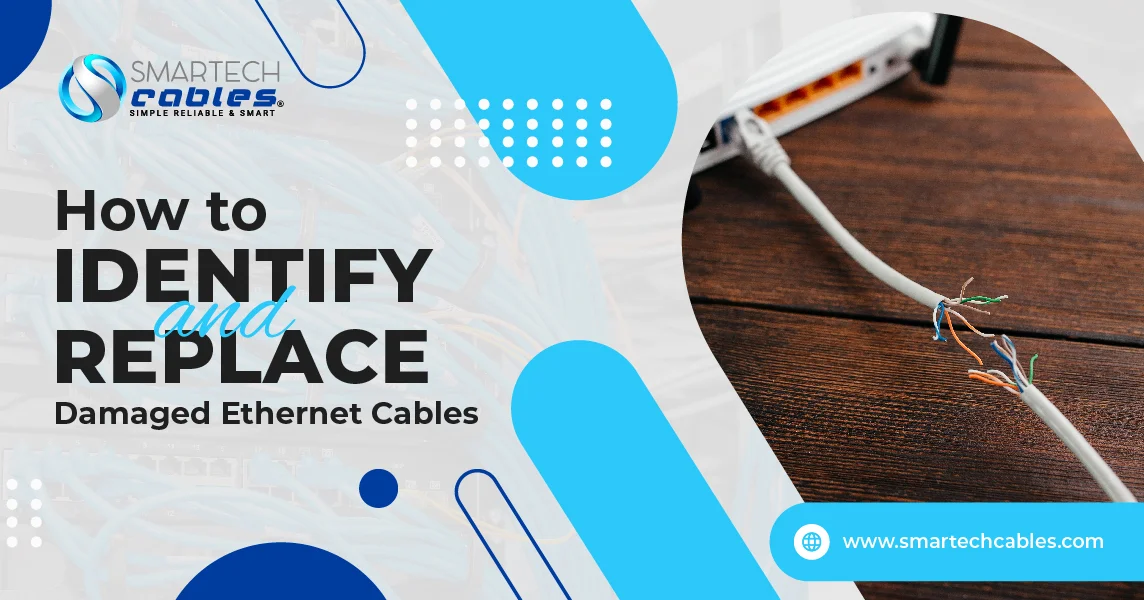
3. Physical Damage
A visual inspection of the Ethernet cable can often reveal physical damage. Look for cracks, cuts, frayed ends, or exposed internal wiring. These physical signs of damage can result from excessive bending, crushing under heavy objects, or wear and tear over time.
If the cable’s outer jacket is compromised, it can also lead to performance degradation due to exposure to external elements.
4. Network Errors
Error messages such as "network cable unplugged" or "limited connectivity" are common indicators of a faulty Ethernet cable. These errors occur when the cable fails to establish a stable connection with the router or modem, leading to network disruptions.
If these messages appear frequently, it’s essential to check the integrity of your Ethernet cable.
5. Interference or Noise
A damaged Ethernet cable can struggle to filter out electromagnetic interference from nearby electronic devices, resulting in fluctuating network performance.
Poorly shielded or degraded cables may allow external interference to disrupt the data signals, leading to unstable connections and inconsistent speeds.
How to Test an Ethernet Cable
Testing an Ethernet cable can help confirm whether it needs to be replaced. Several methods can be used to diagnose cable connectivity issues effectively.
1. Swap the Cable
One of the simplest ways to test an Ethernet cable is by replacing it with a new or working cable. If the connectivity issues disappear after swapping the cable, the old cable is likely defective.
This is a quick and easy way to confirm if the cable is the root cause of the problem.
2. Use a Cable Tester
A network cable tester is a specialized tool that checks the integrity of an Ethernet cable. By connecting both ends of the cable to the tester, you can determine if there are broken wires, incorrect wiring, or continuity issues.
A cable tester provides a definitive diagnosis of a cable’s condition.
3. Check with Another Device
Another effective test is to use the Ethernet cable with a different device. If the second device also experiences connectivity problems, the cable is likely faulty. If the connection works fine on the new device, then the issue may be with the original device’s network port.
4. Inspect the Connectors
The connectors on an Ethernet cable play a crucial role in ensuring a secure connection. Bent, corroded, or loose RJ45 connectors can disrupt data flow, leading to connectivity issues. Examine the connectors for any visible signs of damage and replace the cable if necessary.
5. Use a Multimeter
A multimeter can be used to test the conductivity of an Ethernet cable. By setting the multimeter to continuity mode, you can check if each wire inside the cable is properly connected. If any wire fails the continuity test, the cable is damaged and should be replaced.
Causes of Ethernet Cable Damage
Understanding what causes Ethernet cable damage can help prevent future connectivity issues and prolong the lifespan of your cables.
1. Bending and Kinking
Excessive bending or sharp kinks in an Ethernet cable can weaken the internal wires over time. Avoid running cables through tight spaces or bending them at sharp angles to prevent internal breakage.
2. Physical Wear and Tear
Ethernet cables that are frequently stepped on, pinched under furniture, or exposed to heavy objects can suffer internal damage. Keeping cables in designated pathways or using protective cable sleeves can prevent unnecessary wear.
3. Rodent Damage
Rodents such as rats and mice have a tendency to chew on cables, leading to exposed wires and connection failures. Using protective tubing or installing cables inside conduits can help prevent rodent damage.
4. Exposure to Moisture
Water or moisture exposure can corrode the internal wiring of an Ethernet cable, leading to degraded performance or complete failure. Keeping cables away from water sources and using weatherproof cables in outdoor setups can prevent moisture-related damage.
5. Electrical Interference
Running Ethernet cables too close to power lines or electronic devices can cause interference, disrupting signal transmission. Keeping Ethernet cables separate from power cables and using shielded cables in high-interference environments can mitigate this issue.
Choosing the Right Replacement Ethernet Cable
Selecting the correct replacement Ethernet cable ensures optimal performance and longevity.
1. Cable Categories
Different Ethernet cable categories offer various speeds and shielding levels:
- Cat5e: Supports speeds up to 100 Mbps and is ideal for basic networking needs.
- Cat6: Reduces interference and supports up to 10 Gbps over short distances and 1 Gbps over long distances up to 100 meters.
- Cat6a: Offers enhanced shielding for better performance in high-interference areas - up to 10 Gbps over 100 meters.
- Cat7 and Cat8: Advanced cables designed for high-speed data transmission and enterprise networks.
2. Shielded vs. Unshielded Cables
- Shielded Twisted Pair (STP): Protects against interference and is ideal for industrial or high-interference environments.
- Unshielded Twisted Pair (UTP): Suitable for home and office use where interference is minimal.
3. Length Considerations
Long Ethernet cables can experience signal degradation. Using the shortest necessary cable length ensures optimal performance.
4. Connector Type
Ensure the cable has high-quality RJ45 connectors for secure and stable connections.
How to Replace a Damaged Ethernet Cable
Replacing a damaged Ethernet cable is straightforward if done correctly.
1. Gather the Necessary Tools
You may need a new Ethernet cable, a cable tester, and a crimping tool if making a custom cable.
2. Remove the Damaged Cable
Carefully disconnect the faulty cable from both ends, avoiding excessive force to prevent port damage.
3. Install the New Cable
Securely plug the new cable into the network ports, ensuring a snug fit without unnecessary bending.
4. Test the Connection
Run a speed test or use a cable tester to verify that the new cable is functioning correctly.
Conclusion
A damaged Ethernet cable can significantly impact network performance. Identifying issues early and replacing faulty cables ensures a reliable internet experience. Regular maintenance and proper cable management can extend the lifespan of Ethernet cables and prevent frequent replacements.